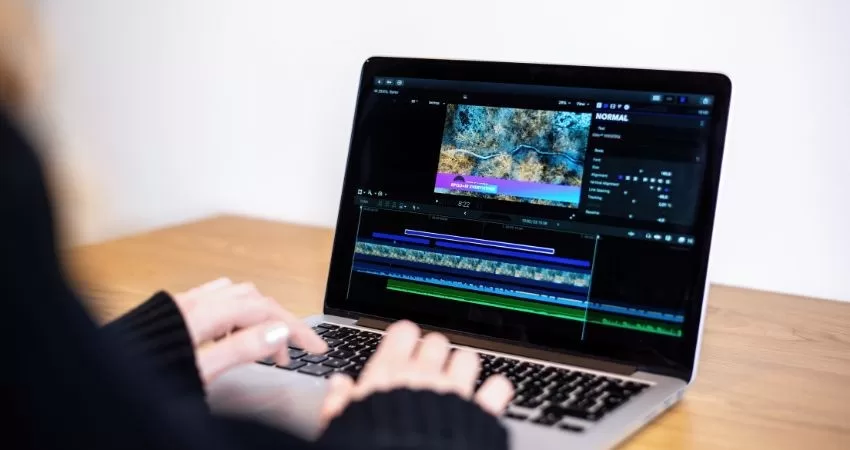
No matter what the quality of the equipment and software, however costly they are, needs to be utilized in editing videos professionally. A little creativity, resourcefulness, and all-smart strategy booting will do just fine. It could be you; be it a content creator or you own a small business or just cannot have enough video editing, the following article is going to provide that great head start to showing you how to edit your videos at no cost.
Understanding What “Pro” Video Editing Is
Before diving into the tools and techniques, let’s first understand what “professional” video editing is. Professional video editing means
Seamless storytelling: Your video has a clear and engaging narrative.
High-quality visuals and audio: crisp footage with well-balanced sound.
Attention to detail: clean cuts, transitions, and polished effects.
Audience-centric approach: your content caters to the preference of your target audience.
The good news? These goals do not have to break the bank.
1.Low-Cost Editing Software
You do not necessarily need to have professional-grade editing software. It can be very costly. Some of the available affordable ones are:
DaVinci Resolve (Free): The free version of DaVinci Resolve is famous for its color correction and grading, with professional-grade tools without watermarks.
HitFilm Express (Free): It is suitable for beginners and intermediate users as it has in-built effects and a user-friendly interface.
Lightworks (Free): Pretty strong at its edit tools with intuitive timeline but the free option is bare-boned about export
Filmora $49.99/year; includes drag-and-drop and motion tracking, and cool effects.
iMovie Free; macOS and iOS. A completely free-to-the-user edit tool that allows users access to the App Store through Apple’s systems, meaning all of it’s pretty basic video-editing ability is included
2.Budget-Friendly Hardware
This type of video editing is done and finished on low to medium machines. Some performance tips can be mentioned to achieve high return without wasting much money.
Increasing RAM: Increases speed regarding the rendering and playback of media files
Adding An SSD: It boosts up general performance as it changes a hard drive.
Saving huge files in cloud, Google Drive or Dropbox and that will save the space of memory in computers.
3.Free Stock Resources
Stock Footage Like Pexels, Pixabay, Videvo, all have free stock videos.
Audio and Effects: YouTube Audio Library, Free Music Archive and Zapsplat, the website to get free sound effect royalty-free
Animations and Overlays: can get titles and overlays absolutely free from Canva or PNG Tree
1.Planning of a Video Project
Any video will look great only when preparation is done. This is what needs to be prepared before attempting an edit.
Define a Storyline: Use Storyboards or Write a Screenplay to Organize a Stream of Thoughts.
Know your audience: Style, pacing, and visuals should be designed for your target audience.
Collect your assets: All your footage, images, music, and other assets in one place.
2.Organize Your Timeline
A well-planned timeline is the solid base for great editing. To achieve that:
Group similar clips in one section: All the interview clips, for instance
Label and color-code your tracks: Audio, video, and special effects need labels
Cut out unneeded footage: Eliminate dead air, shaky footages, and other non-essential parts early
3.Master Basic Editing Techniques
On a very tight budget, these core techniques will already give your edits a good lift.
Trimming and Cutting : Removing unwanted parts of footage with clean cuts.
Transitions : Use simple transitions like fade or dissolve so the scene changes are smooth.
Adjust Speed : Making slow motion and time-lapse effects on moments so emphasis is added.
Audio Syncing : Syncing the dialogue and sound effects into the visuals
4.Highlighting Sound Design
Audio breaks or makes a video. Here’s how it could be made professional.
Background Music: Sets mood with royalty-free tracks.
Noise Reduction: Eliminates background noise through native DaVinci Resolve or Audacity software.
Audio Levels: The music, dialogue, and effects are all well-balanced, and no one drowns the other out.
5.Improve the Images
Even with a shoestring budget, these will upgrade your images:
Color Correction: Brightness, contrast, and white balance to make every shot look the same.
Color Grading: Creative color for making it cinematic
Stabilization: Software can even stabilize shaky video.
Crop and Frame: Different types of media will have their respective aspect ratios.
Example-16:9 is the standard one for YouTube. For Tik Tok, the ratio will be 9:16.
6.Add text and graphics
Professionals will add the text overlay, titles, and lower third to the videos. How to make professional pictures:
Use templates: Using the software canva or preexisting templates in Filmora saves quite a lot of time.
Do not overdo or over apply special effects. The text and color are going to fit with your aesthetic given the theme.
7.Export to All Devices
Export it in the highest quality, ensuring that the video plays smoothly. These are your options:
Resolution: At least 1080p for most devices.
Bitrate: This will be balanced with file size; YouTube actually recommends 8 Mbps for HD.
File Format: MP4 is very well supported, and compression won’t degrade the quality much either.